Instructions for installing Storro on Mac OS
The email you received from us contains a link to download the Storro application. If you click on this, a browser screen will open. Your operating system is automatically detected. If this is not done correctly, click on the button Show other platforms. Then click the download button.
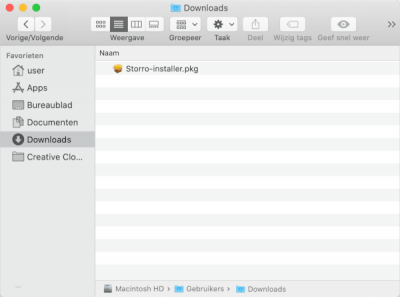
In the Downloads folder you will find the downloaded installation file named Storro-installer.pkg. Double-click on this file to start the installation.
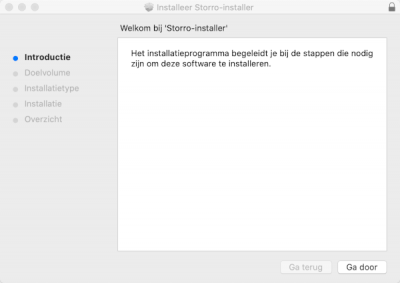
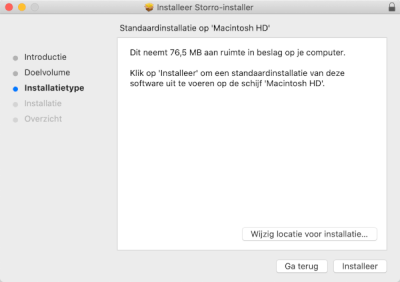
The installation wizard will guide you through the installation process. Click on ‘Continue’ to go to the next step of the installation. At the third step, click on ‘Install’ to install Storro. You will then be asked for your username and password. When you have completed the entire installation wizard, you can move the installation program to the Trash.

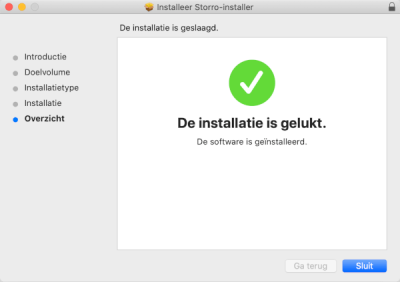
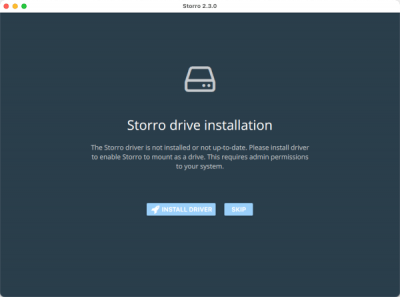
After you have successfully completed the installation, you can start Storro via Launchpad. On the first boot you will be prompted to install a driver. This is the Mac Fuse driver that causes a protected Storro drive to appear in the Finder. Click on Install Driver to install the driver.
Upon request
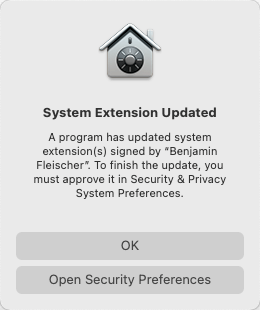
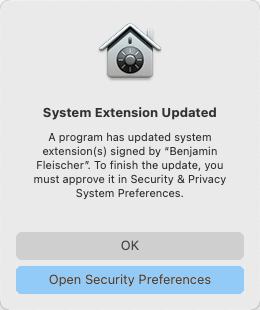
During the installation of the driver (see previous step) it is possible that the message below is displayed. To be able to install the driver (signed by ‘Benjamin Fleischer’), permission must be given in the Security & Privacy System Preferences. At this message, click the bottom button labeled Open Security Preferences.
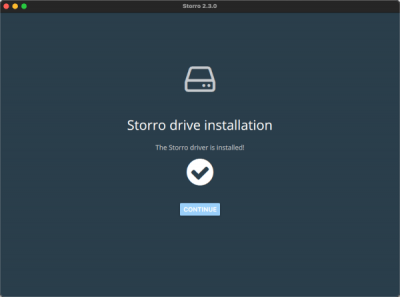
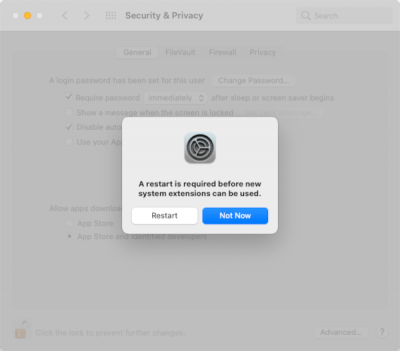
After opening the Security Preferences you will see the screen below. Click on the lock icon and enter your password to confirm. Next, click the Allow button to complete the driver update.


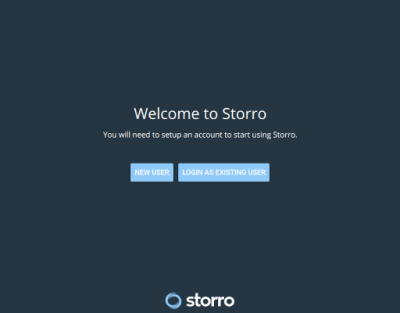
Start the Storro application. You will be prompted to create an account. If you have not created an account before (on another laptop or desktop), click here on New User. You will then be taken to the screen to register a user account. This also requires the registration code from the email you received from us. Copy this (with Ctrl+C) from the email and paste (with Ctrl+V) in the field in the application. You will also be asked to create a password. You can optionally have this password saved in the keychain, so that you can log in in the future without entering this password.

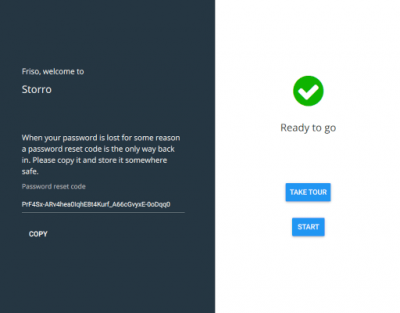
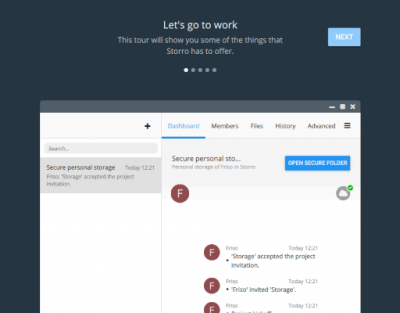
Your account has been created! It is important to note that Storro cannot reset your password. You can only do this with the password reset code that is shown after registering. Please keep this code safe. You can now start using Storro. If desired, you can first start a short tour for an explanation of Storro’s functionality.